




7 Mistakes To Avoid When Ordering Custom Envelopes
 May 28, 2026|
Ordering custom envelopes sounds simple. Pick a size, choose a paper, add your logo, and you are done. But in reality, small mistakes can cost you time, money, and professional credibility. A poorly chosen envelope can delay your mailing, frustrate your recipients, or even damage your brand image. This guide walks you through the seven most common mistakes buyers make when ordering custom envelopes-and how to avoid each one.
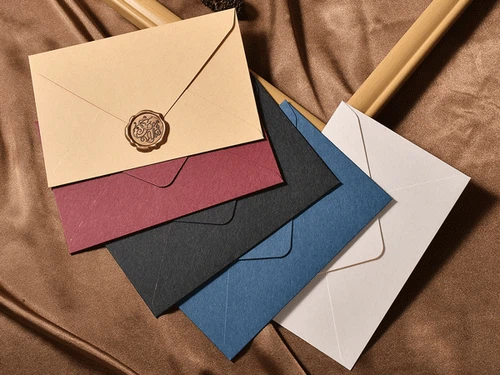
Mistake #1: Choosing the Wrong Paper Weight
Paper weight is measured in grams per square meter (gsm) or pounds (lb). Many buyers either choose paper that is too thin or unnecessarily heavy.
The problem with paper that is too thin: Thin paper can be see-through. If you are sending a letter with text on both sides, the recipient may see the back side through the front. This looks unprofessional and can make the content hard to read. Thin paper also tears easily during mailing, especially in automated sorting machines.
The problem with paper that is too heavy: Heavy paper feels premium, but it costs more to buy and more to mail. Postage rates are based on weight. A heavy envelope may push you into a higher postage bracket, increasing your mailing cost significantly for large campaigns. Heavy paper can also jam in standard office printers if you plan to print addresses directly on the envelopes.
How to avoid this mistake:
- For standard business correspondence (invoices, statements, checks), 80–90 gsm is sufficient.
- For professional letters and marketing mailers, 100–120 gsm offers a good balance of feel and cost.
- For invitations, greeting cards, or premium mailings, 120–150 gsm feels substantial without being excessive.
Always test your chosen paper with your printing method before ordering in bulk.
Mistake #2: Ignoring Envelope Size Standards
Envelope sizes are not random. They follow industry standards that match common paper sizes and mailing equipment. When you choose a non-standard size, you create problems for yourself and your recipients.
The problem with non-standard sizes: Non-standard envelopes may not feed properly through high-speed postal sorting machines. This can delay delivery or even damage the envelopes. They may not fit in standard office printers, forcing you to hand-address each envelope. They also often cost more because the supplier must custom-cut and custom-die the envelopes.
The problem with window envelopes: Window envelopes have standard window positions that align with common letter folds (usually tri-fold or #10 folds). If you choose a non-standard size or window position, the address may not show through correctly. The result looks sloppy and may cause delivery delays if postal workers cannot read the address.
How to avoid this mistake:
Stick with standard sizes unless you have a specific reason not to. Here are the most common envelope sizes and their typical uses:
|
Size |
Dimensions |
Best For |
|
#10 |
4.125" x 9.5" |
Business letters, invoices, checks |
|
A2 |
4.375" x 5.75" |
Small greeting cards, RSVP cards |
|
A6 |
4.75" x 6.5" |
Postcards, invitations, photos |
|
A7 |
5.25"x7.25" |
Greeting cards, invitations |
|
6" x 9" |
6"x9" |
Catalogs, brochures, booklets |
|
9" x 12" |
9"x12" |
Documents without folding |
If your product fits a standard size, use it. If you truly need a custom size, confirm that your printer, mailing service, and postal service can handle it.
Mistake #3: Overlooking the Flap Style and Closure
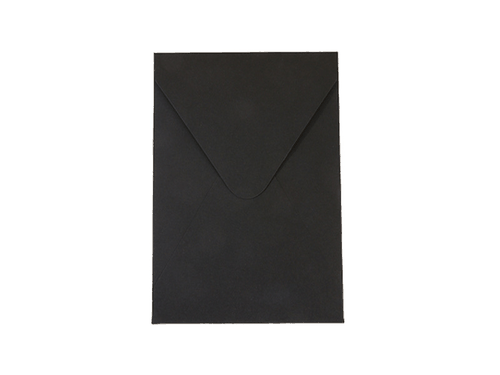
The way your envelope seals matters more than you might think. Different closure types work for different purposes, and choosing the wrong one can frustrate your recipients or fail at the wrong moment.
Self-adhesive (peel-and-seal): These envelopes have a strip of adhesive covered by a removable paper or silicone liner. You peel off the liner and press the flap closed. They are convenient and fast, making them popular for high-volume mailings. However, the adhesive can degrade over time, especially in hot or humid conditions. After a year in storage, the seal may fail.
Moisture-activated (water seal): These classic envelopes require you to moisten the adhesive (usually with a sponge or your tongue) before sealing. They are more secure than self-adhesive and do not degrade over time. But they are slower to close, making them impractical for high-volume mailings.
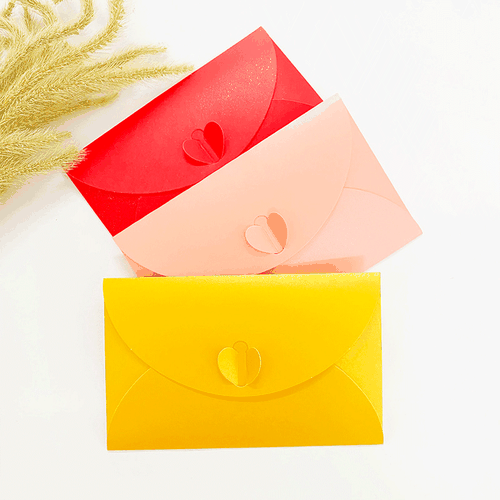
Clasp envelopes: These have a metal or paper clasp that tucks into a slit in the envelope body. They are reusable but not secure for mailing because the clasp can come undone in postal equipment. Use them for internal office use, not for mailed correspondence.
Blank (no adhesive): Some envelopes come with no adhesive at all. These are meant to be sealed with tape or used with separate sealing stickers. They are uncommon for business use.
How to avoid this mistake:
- For high-volume direct mail campaigns (hundreds or thousands of pieces), choose self-adhesive. The time savings are worth it.
- For important documents, legal mail, or items that may be stored for years, choose moisture-activated. The seal is more reliable.
- For invitations or premium mailings, moisture-activated adds a traditional, high-quality feel.
- Never use clasp envelopes for actual mail. They are for internal filing only.
- If you choose self-adhesive, store envelopes in a cool, dry place and use them within 12 months.
Mistake #4: Forgetting About the Printing Method
The way you print on your envelopes affects both cost and quality. Many buyers choose a printing method without understanding how it interacts with envelope surfaces.
Digital printing: Digital printers apply toner or ink directly to the envelope. They are ideal for small orders (100–1,000 envelopes), variable data (different addresses or names on each envelope), and fast turnarounds. However, digital toner can crack if the envelope is folded or creased. Not all digital printers can handle thick or textured paper.
Offset printing: Offset uses plates to transfer ink. It delivers the highest quality and most consistent color. It is cost-effective for medium to large orders (1,000–10,000 envelopes). However, setup costs are higher, and turnaround is slower. Offset works well on most paper types.
Flexographic printing: Flexo uses flexible plates and fast-drying ink. It is the best choice for very large orders (10,000+ envelopes) and is commonly used for mass-produced envelopes where the same design repeats. Setup costs are high, but per-unit costs are very low at scale.
How to avoid this mistake:
- Under 1,000 envelopes: Use digital printing. The lower setup cost and faster turnaround will save you money.
- 1,000–10,000 envelopes: Offset printing offers better quality and competitive pricing.
- Over 10,000 envelopes with a simple, repeatable design: Flexo is your most economical option.
- Always ask your printer what paper types work best with their printing method. Not all printers can handle heavy or textured paper.
Mistake #5: Skipping Samples Before Full Production
This is the most expensive mistake on this list. Many buyers trust a digital proof, approve production, and receive thousands of envelopes that look nothing like what they expected.
What digital proofs cannot show you: Digital proofs show colors on a backlit screen, not on your actual paper. They cannot show paper texture, thickness, or how the envelope feels in hand. They cannot show how a self-adhesive strip peels or how the flap folds. They cannot show if the window is positioned correctly.
What a physical sample reveals: A physical sample lets you check paper color under real lighting, feel the texture and weight, test the seal, fold the flap, and measure the window position. You can also test how the envelope feeds through your printer and how your printed design looks on the actual paper.
How to avoid this mistake:
- Always request a physical sample before approving a full production run.
- If the supplier charges for samples, pay the fee. It is a small price to avoid a large mistake.
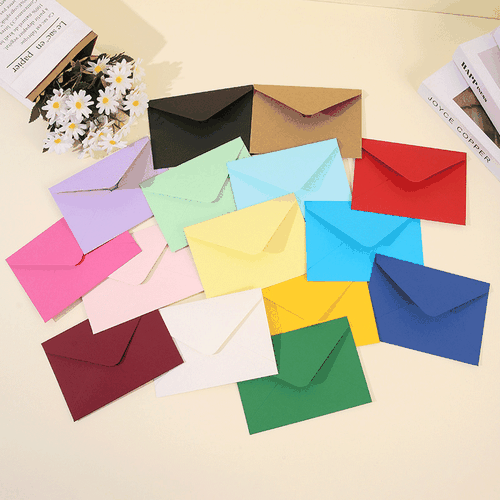
- Order samples of multiple paper options if you are unsure which to choose.
- Test the sample with your actual printer and your actual mailing process.
- Keep the approved sample for reference when the full order arrives, so you can compare.
Mistake #6: Miscalculating the Window Position (For Window Envelopes)
Window envelopes are convenient-you print the address on the letter inside, fold it correctly, and the address shows through the window. But if the window is positioned even slightly off, the address may be cut off or hidden entirely.
Standard window positions: For #10 envelopes (the most common business size), there are standard window positions that match how business letters are typically folded (tri-fold or #10 fold). If you use a standard size and standard window, you are safe.
Custom windows: If you request a custom window size or position, you must provide exact measurements. Small errors in measurement can cause big problems. A window shifted 1/8 inch may cut off the top of the address. A window that is 1/4 inch too narrow may hide part of the city or state.
How to avoid this mistake:
- Use standard window positions whenever possible. They are proven to work.
- If you need a custom window, provide exact measurements in millimeters or inches.
- Print a test sheet of addresses at the correct position and fold it according to your plan. Insert it into a sample envelope to confirm that the address shows fully.
- Ask your supplier to provide a physical sample of the window envelope before full production.
- Remember that different folding methods (tri-fold, half-fold, z-fold) place the address in different positions. Design your letter and envelope together.
Mistake #7: Neglecting the Opening Experience
You have designed a beautiful envelope, chosen the perfect paper, and printed your logo perfectly. But what happens when the recipient opens it? Too many buyers forget to consider the unsealing experience.
The problem with difficult-to-open envelopes: Some self-adhesive envelopes are nearly impossible to open without tearing the flap or damaging the contents. Recipients may struggle, get frustrated, or even give up. That frustration transfers to your brand-even if your product or message inside is excellent.
The missed opportunity of a great opening experience: On the other hand, a well-designed envelope can create a moment of delight. A clean-sealing flap that opens easily. A satisfying sound when the adhesive releases. A beautiful interior that matches the exterior.
How to avoid this mistake:
- For everyday business mail (invoices, statements), focus on reliable function. The recipient is not looking for delight, but they will notice if the envelope is hard to open.
- For invitations, holiday cards, or premium mailings, consider the opening experience as part of your brand. Moisture-activated flaps often open more cleanly than self-adhesive.
- Test your sample envelopes by actually opening them. Does the flap tear? Does the adhesive leave residue? Is the opening experience pleasant or frustrating?
- For self-adhesive envelopes, ask your supplier about the adhesive type. Some adhesives are designed to release more easily than others.
Conclusion
Custom envelopes seem simple, but the details matter. Choosing the wrong paper weight can make your mail look cheap or cost you extra postage.
Ignoring size standards can cause printing and mailing delays. Overlooking the flap style can frustrate your recipients. Skipping samples is a gamble that rarely pays off.
The good news is that all of these mistakes are avoidable. Know your standard sizes. Match your paper weight to your use case. Choose the right printing method for your quantity. Always order samples. Pay attention to window positions. And remember that how your envelope opens is part of your brand experience.
When you get these details right, your custom envelopes do more than carry a message-they build trust, communicate professionalism, and make a positive impression before the envelope is even opened. If you are ready to order custom envelopes or need help choosing the right options for your business, Yucai is here to help. Contact us for samples, quotes, or expert guidance.
FAQ
1. What is the most common paper weight for business envelopes?
80–90 gsm is standard for everyday business envelopes. For a more premium feel, 100–120 gsm is a popular choice.
2. What is the minimum order quantity for custom envelopes?
Digital printing allows orders as low as 100–500 envelopes. Offset and flexo printing typically require 1,000–5,000 envelopes to be cost-effective.
3. Can I order non-standard size envelopes?
Yes, but expect higher costs and longer lead times. Standard sizes are more economical and work with postal equipment and office printers.
4. Which is better: self-adhesive or moisture-activated seals?
Self-adhesive is faster and more convenient for high-volume mailings. Moisture-activated is more secure and feels more traditional, making it popular for invitations and premium mailings.
5. Why do my printed envelopes look different from the digital proof?
Digital proofs are displayed on a backlit screen, which shows colors differently than printed paper. Always request a physical sample to see true color.
6. How long does it take to produce custom envelopes?
Digital printing: 5–10 business days. Offset printing: 10–20 business days. Flexo printing: 15–30 business days. Add shipping time separately.
7. What should I check when ordering window envelopes?
Confirm the window position matches your letter folding method. Print a test address, fold your letter, insert it into a sample envelope, and verify the address shows fully through the window.